These are all needed parts with an overview of the place and the name of each part.
|
Harald Prinzler Mikroelektronik, Fesseldrachen und Fotografie |
Detmolder Straße 93 D-33175 Bad Lippspringe Phone: +49-5252-7830 email: harald@hprinzler.de URL: http://www.hprinzler.de |
These are all needed parts with an overview of the place and the
name of each part.
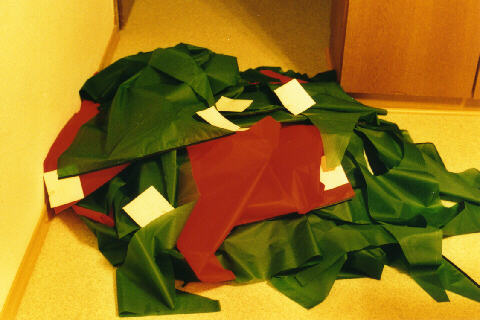
A lot of prepared fabric. You see the piece of paper with the name
of the part to identify the part in an easy way.
This sketch shows the ways, how to sew pieces together. The first one
shows the first seam. The second one is only useful with coated or
hotcutted fabric. The third one gives the best protection for the edges
of the fabric.
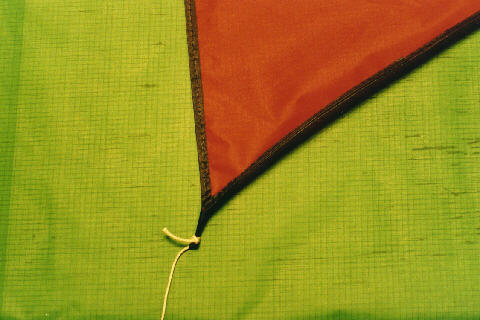
This photo shows how to make a fixing point for the bridle line on the
lower tip of the keels with edge seam tape. First you sew the trailing
edge of the keel. Than sew the leading edge from top point to the lower
point. Continue sewing the edge seam tape for about 20cm (8 inch). Mark
the tape at 5cm (2 inch) from the keel tip.
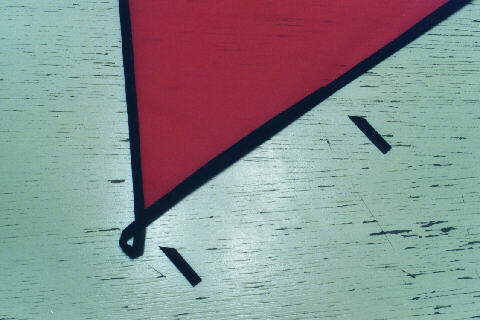
Fold the tape for a loop and place the mark on the keel tip. Sew the
rest of the tape on the trailing edge of the keel.
This sketch shows the best way to sew the pieces together. Take care
about place and direction of the pieces, because sometimes you have to
sew 4 pieces together.
This is an example how to close the trailing edge. Between the profiles P4
(the thick line in the sketch) you can use edge seam tape. Than you make a
larger seam allowence between P1 and P4 (5cm, 2 inch). Make the first seam
to close the trailing edge directly between the ends of profile P4 to the
end of profile P1. Fold the seam allowence twice towards the top surface and
make the second seam (again from P4 towards P1). Before reaching the end of
P1 you can add folded edge seam tapes to make fixing points for a drogue.
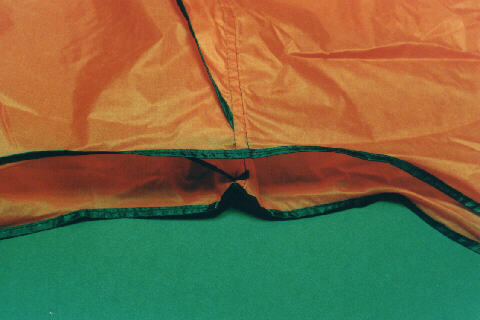
At the end of profile P5 leave the top and bottom surface a bit longer to
realize the edge binding of the surfaces.
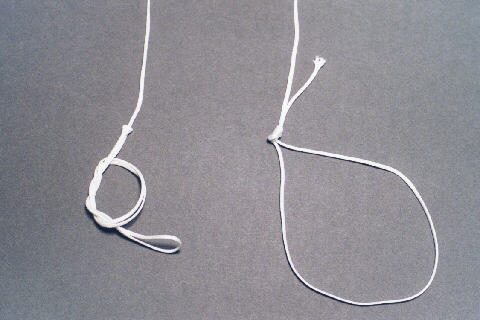
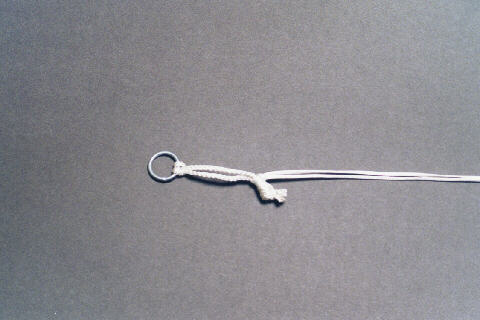
In this way I made the loops for the bridle line to fix to the lower
bridle point or for the flying line to fix on a help line on the lower
bridle point.
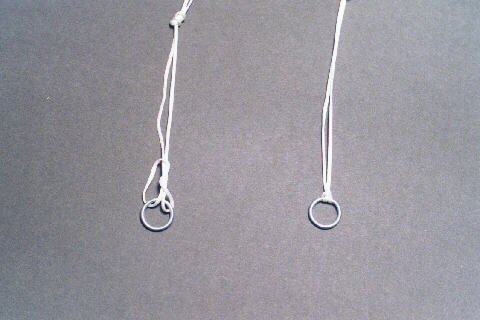
This knot I used to fix the loops of the bridle lines to the lower bridle
point. The second turn of that knot fixes the knot more safe.
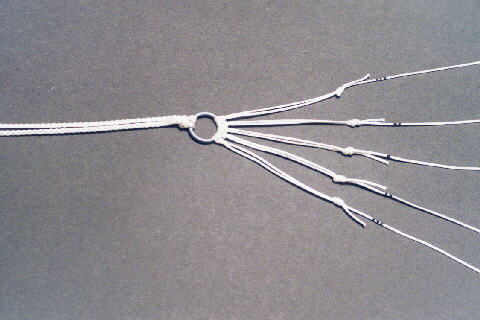
That is the complete bridle at the lower bridle point with another loop
to fix the flying line. With the marks on the lines it is easier to select
the right lines when tying the lines to the loops on the lower keel tips.
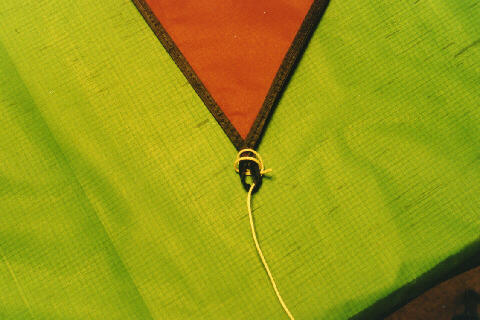
This is the way, how I fixed the bridle line to the loop on the lower
keel tip.
Now, the knots on the lower keel tips are fixed with the right length
of the bridle line.
That is my way to fix the flying line to the additional loop on the
lower bridle point.The loop of the flying line is fixed behind the knot
of the additional loop.
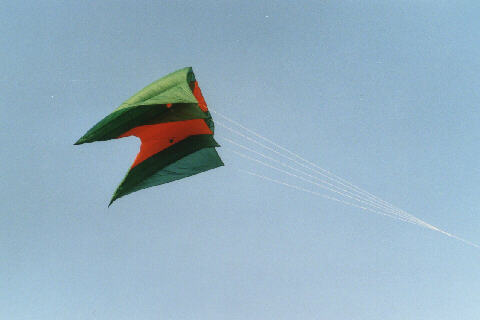
The maiden flight on january 14, 2001. (side view)

Another view during maiden flight towards the trailing edge.
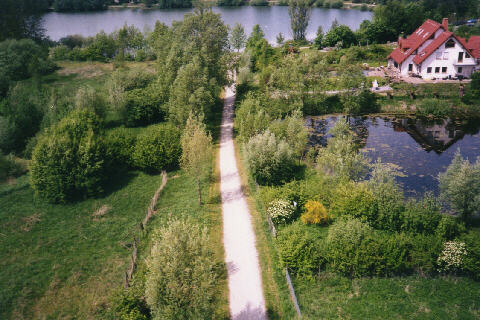
On may 13, 2001 I used this kite first time for kite aerial photography.
©2015 Harald Prinzler